
You will need:


Method:


1. Preheat oven to 175 degree celsius
2. Take 18 oreos and remove the cream in between
3. Transfer the oreos into a ziplock bag (please ensure the quality is good)
4. Crush the oreos into very find crumbs using a rolling pin (In this case, I used a water bottle as an alternative because I couldn't find my rolling pin. The reason why you have to crush them into fine crumbs is to ensure that it will act properly as a base… I had to separate the entire lot of oreos and crush them for a few times before I could get super fine crumbs)
5. Transfer into mixing bowl
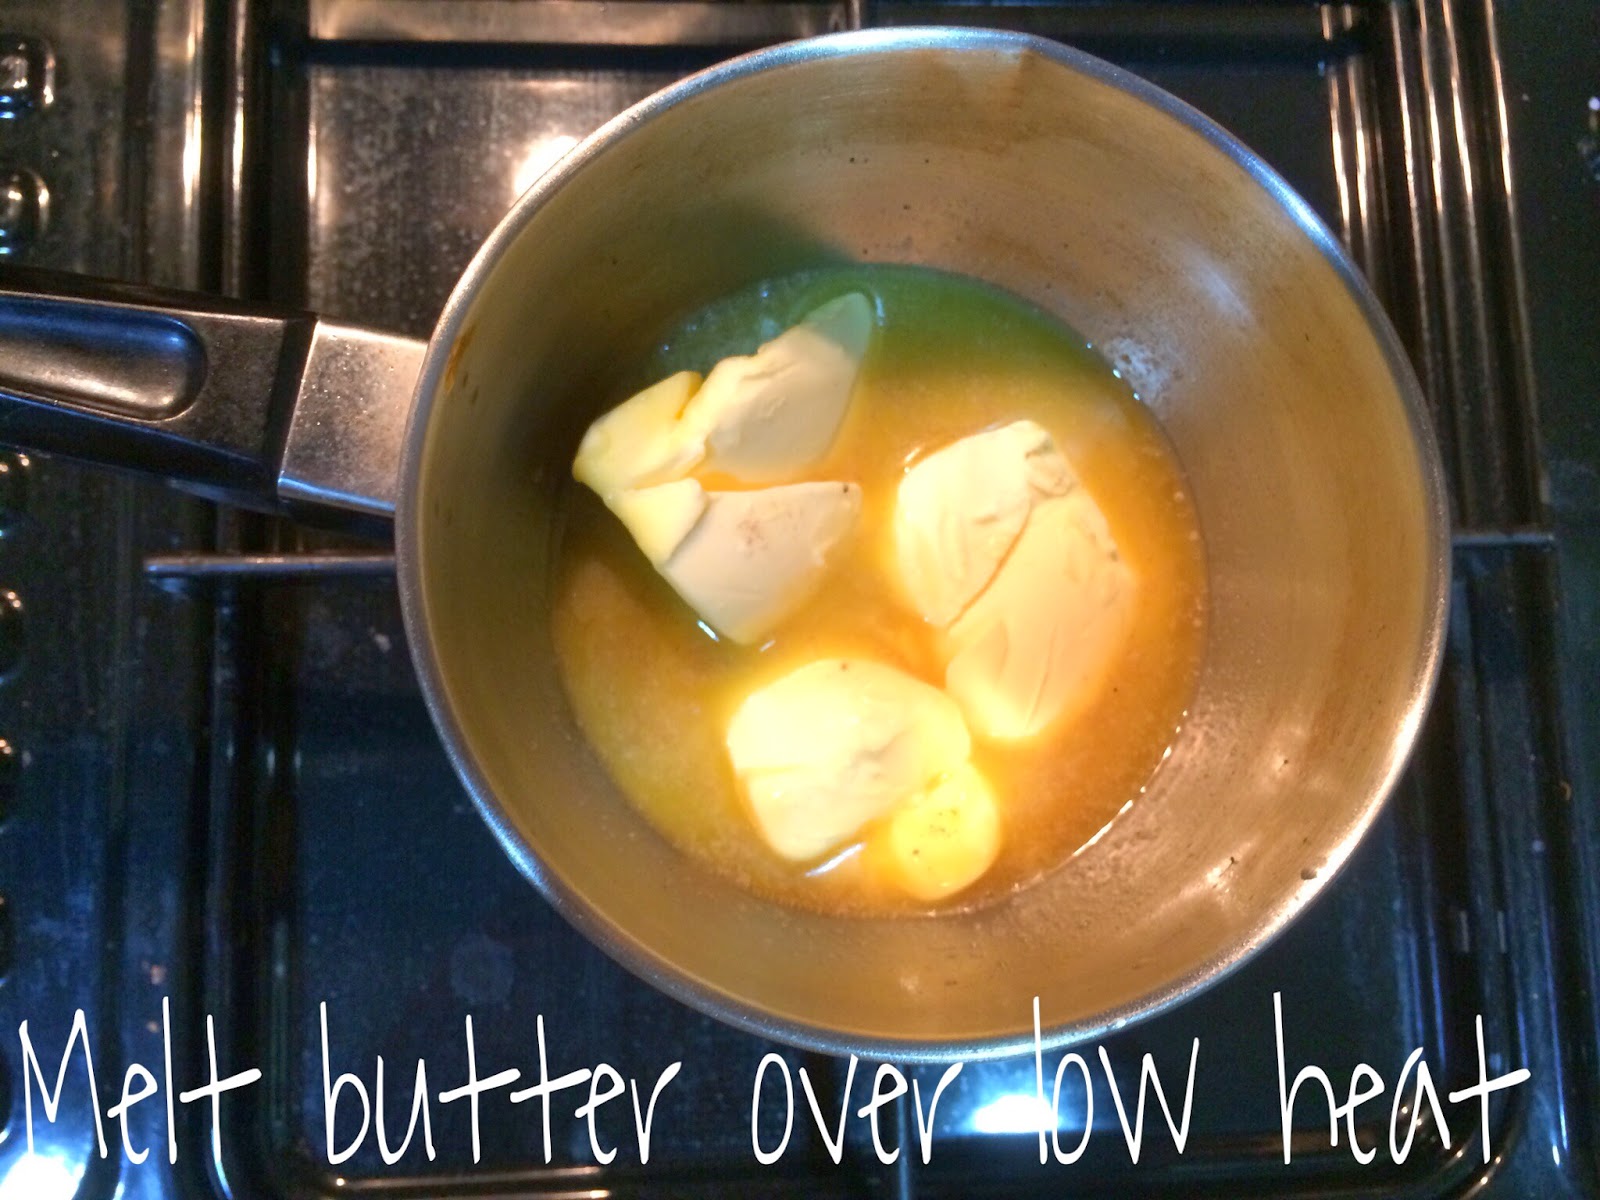

7. Melt the butter over low heat (Do not heat it over high heat as the butter may get charred)
7. Pour the melted butter into the mixing bowl that contains the crushed oreos
8. Mix well

9. Pour the butter-ed crumbs onto the baking pan
10. Use a spoon to firmly press it down (Ensure that there isn't any "holes" as this acts as the base of the cake. If the mixture is too dry (not enough butter), do add more melted butter and mix well before setting it onto the baking pan. Butter helps to stick the crumbs together. Hence if it is insufficient, the base of the cake will not be as solid.)


11. Add in the philadelphia cream cheese, sugar and vanilla into the mixing bowl
12. Using medium speed, mix until well blended together

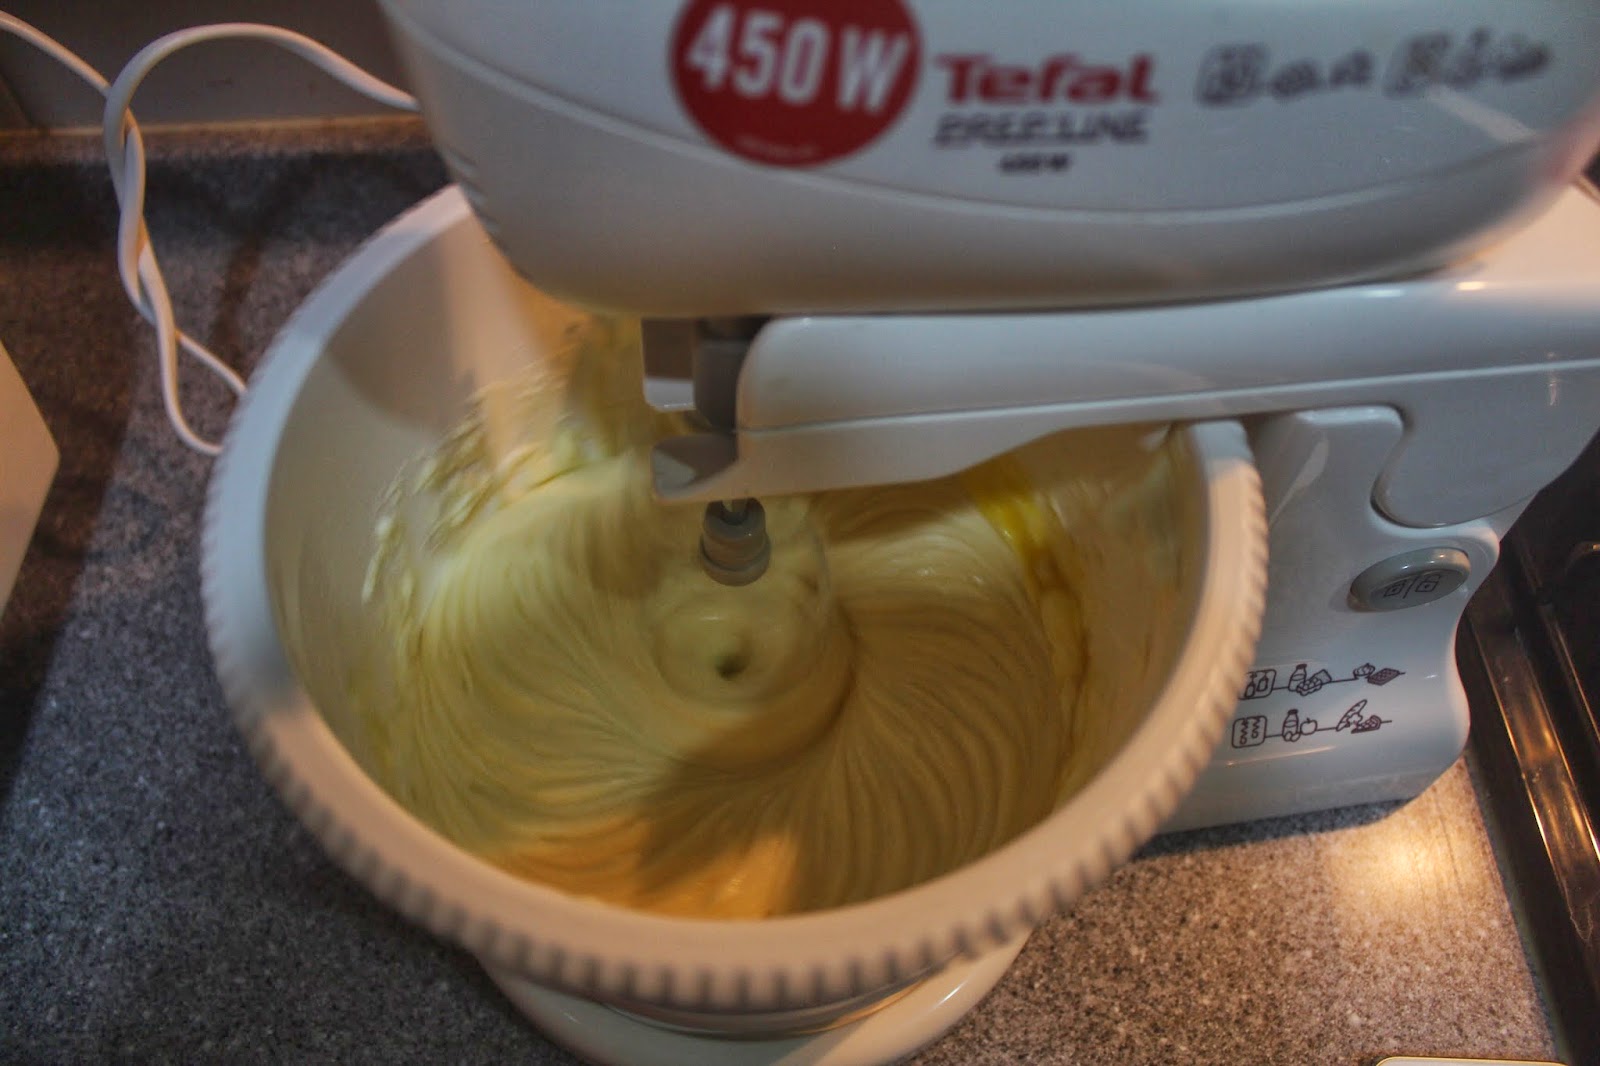
13. Add eggs, 1 at a time. Beating until just blended after each addition

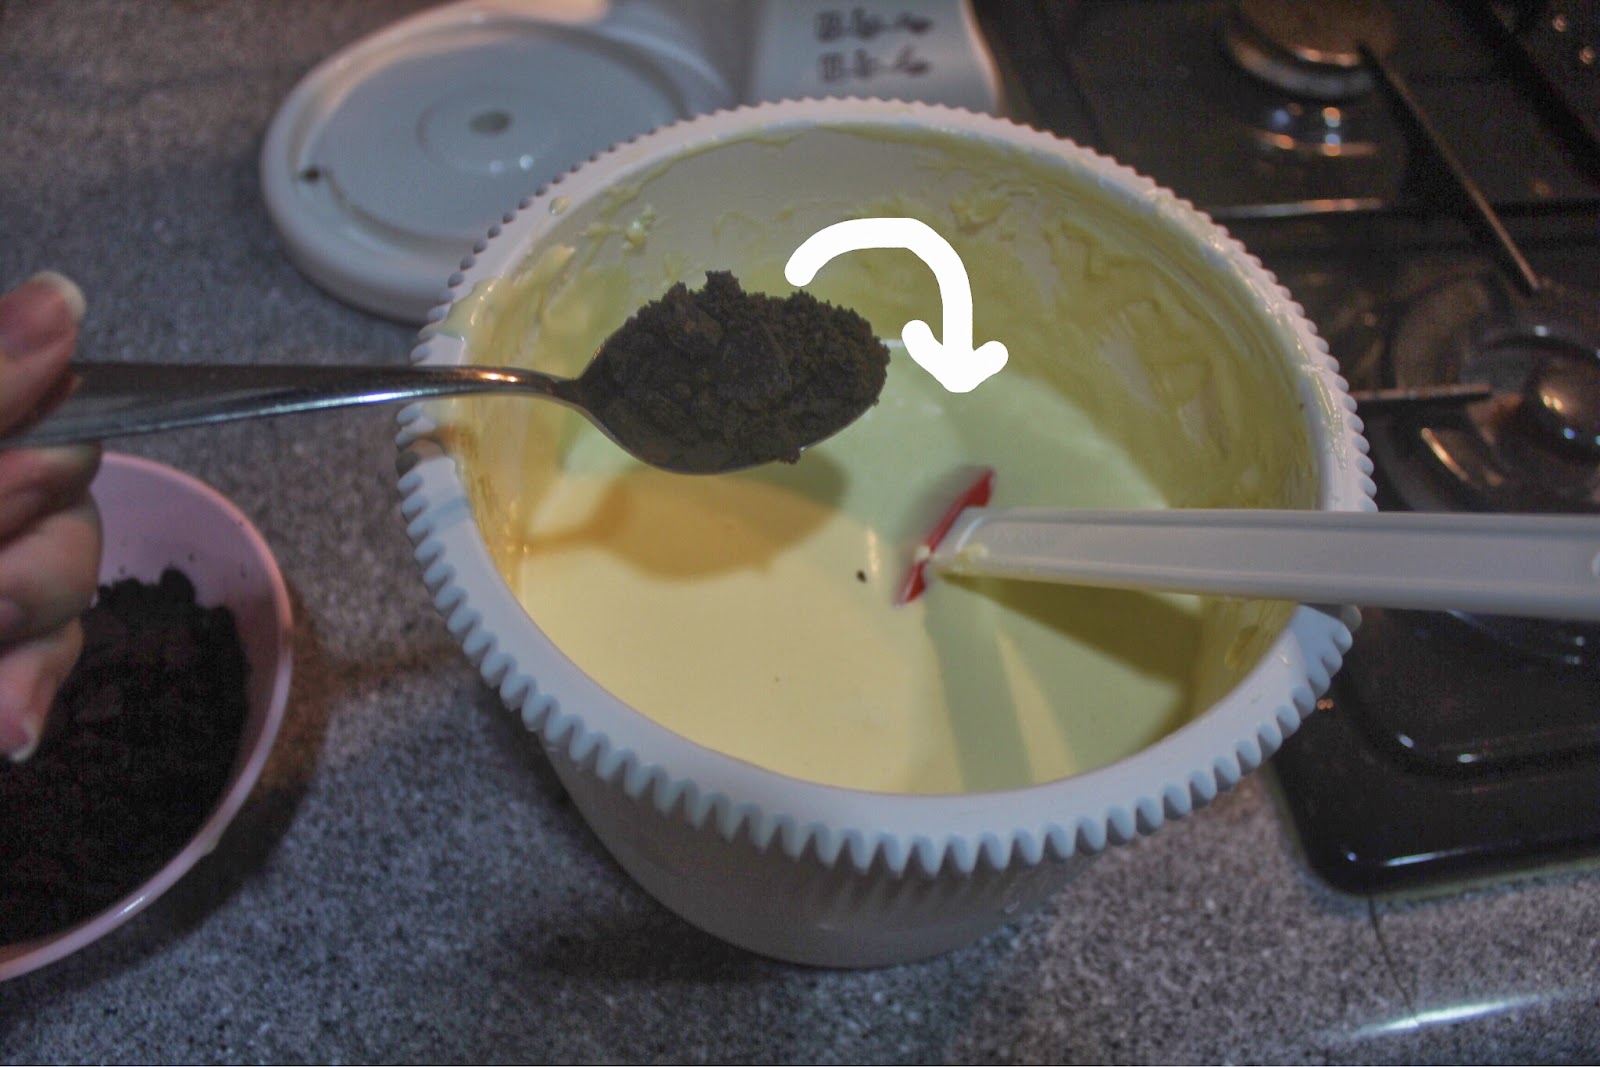

14. Take another 10 oreos and remove the cream in-between
15. Crush them (However, I did not crushed them into fine crumbs but instead make it a lil more chunky… In my opinion I think it will be nicer to have some chunky biscuits when you eat the cake! I don't know how to explain, but ya you geddit?)
16. Add the oreos into the mixture
17. Gently fold in the oreos into the mixture (Do not stir or use a mixer. FOLD so that less air will be incorporated into the mixture and air plays a huge role in the entire structure of the cake. Please trust an FNN student hahah)


18. Pour mixture into the baking pan with the buttered oreos as the base
19. Place the baking pan into the preheated oven and bake for 45 mins under 175 degrees celsius (For my case, I left it to bake for an extra 5 mins because the entire cake was quite wobbly. Use a toothpick or a satay stick to poke into the cake. If it comes out clean, the cake has been cooked.)

20. While waiting for the cake to be ready, crush the remaining oreos into fine crumbs like what you did at the beginning (Remember to remove the cream in-between. Make it as fine and constant as you can because this layer of crushed oreos act as the "garnishing" to the cake… so I think you would want it to look presentable right. I got quite fed up so some of my cookies were chunky sigh)


21. Remove that brown layer of the cake (Removing it levels the cake into a constant height and the brown layer is so unsightly! It isn't burnt…. but because the top layer has direct contact with the heat in the oven. Remove the brown layer at the outer circumference of the cake before going to the next step. I kind forgot so I did it after ooopz.)

22. Sprinkle the finely crushed crumbs over the cake


23. TADAHHHH and you're done with the oreo cheesecake! (It is advised to keep the cake in a refrigerator for 3 hours before consumption -best if left overnight. Do remember to leave your cake to cool down first and not put a warm cake in the fridge as it will spoil faster, giving out a pungent odour! & You get what I mean by crushing the biscuit into finer crumbs for the top layer right…. that few chunky pieces makes it so ugly.)
Here's a vlog on the entire process. Okay not really a blog cos I didn't even talk. Please pardon my editing okieee still using iMovie, final cut pro is so difficult??????
WAH YUMSSS. I WANT TO TRY!!
ReplyDelete